Previous Article: Managing Tags
Within each plan item you can create checklists that allow you to keep a set of “to-do” lists. These lists are completely generic and can be used to track anything, but most use cases include small tasks that are assigned to different users who have access to the plan item.
The Checklist Section
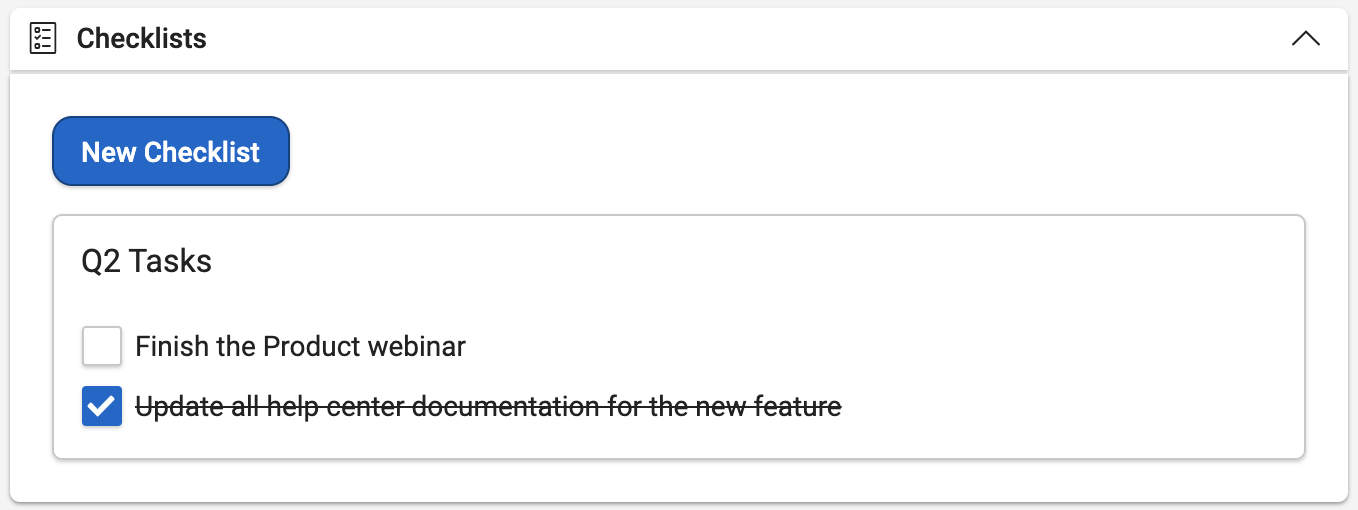
The Checklist Section is at the very bottom of the right side of the Plan Item Card. Within the Checklist Section you will find all of the checklists for a plan item. All users have full access to modify, add, or delete checklists, so make sure to take care whenever you are using them.
The Checklists section
To check items off of the list, just click on the item name. You can uncheck and item by clicking on the checked item.
Adding a Checklist
To create a checklist, navigate to the Checklist section and click on the “New Checklist” button at the top of the section.
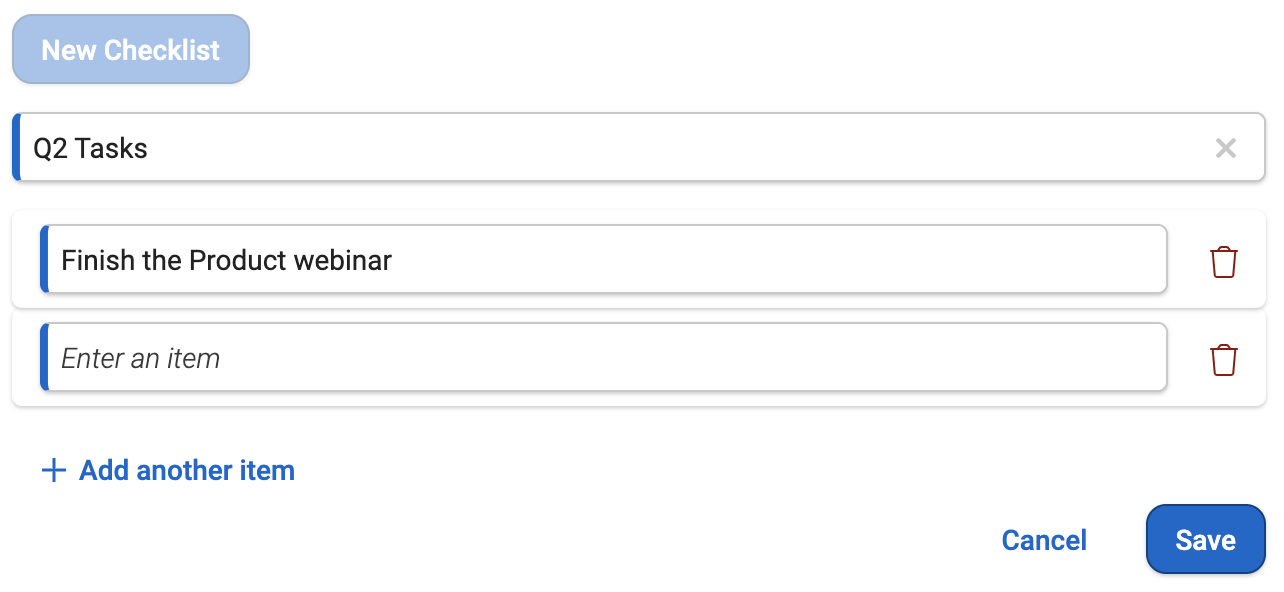
This will open up the “New Checklist” panel, which allows you to enter the name of the checklist and any checklist items you want in the checklist.
Adding a checklist
To add extra items, click on the “Add another item” button at the bottom of the panel.
When you are satisfied with your checklist, click on the “Save” button at the bottom of the panel. If you are not satisfied with the checklist and don’t want to save it, you can click on the “Cancel” button instead.
Editing a Checklist
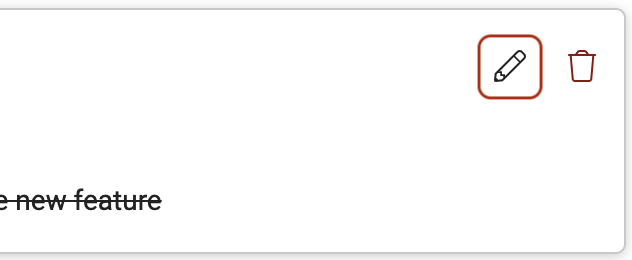
To edit a checklist, hover over the checklist and click on the “Edit” button in the top right corner (denoted by the pencil icon).
The edit checklist button
This will open the checklist in edit mode and allow you to make any modifications you would like. Here you can edit the name and any of the checklist items. Note that if an item has already been checked off, you will see the item text crossed out (however, you can still edit the item text).

Editing a checklist
Deleting a Checklist
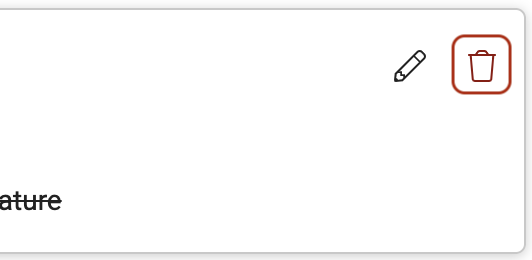
To delete a checklist, hover of the checklist and click on the “Delete” button in the top right corner (denoted by the trashcan icon).
The delete checklist button
Clicking on this button will show a warning message on the panel. If you are ok with this permanently deleting the checklist, click on the “Delete” button at the bottom of the panel. If you do not want to delete the checklist, click on the “Cancel” button instead.
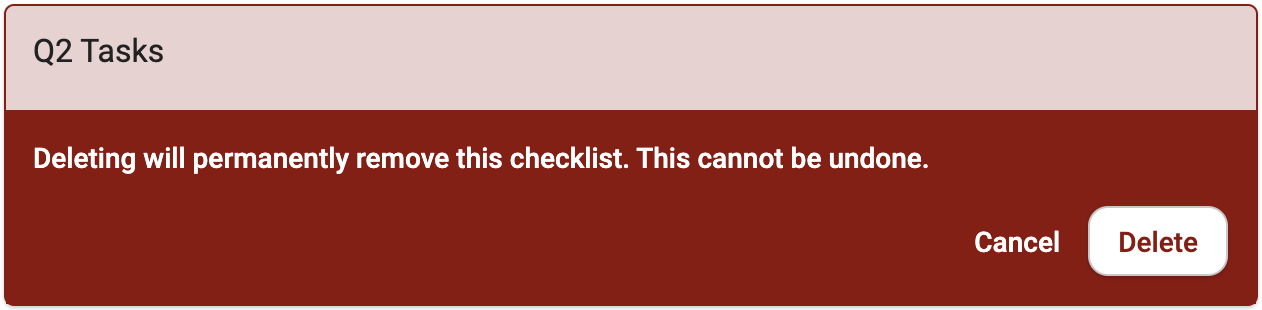
The delete checklist popup
Once a checklist is deleted, it will not show up in the Checklist Section or anywhere else in AchieveIt.